Ninja Creami Chocolate Ice Cream

I love making Ninja Creami Chocolate Ice Cream when I want a real chocolate ice cream fix without a complicated process or a long ingredient list. It comes out smooth, creamy, and genuinely chocolatey with a light, scoopable texture that is hard to believe comes together this easily. Simple, no-fuss, and so good straight from the pint.
This post contains affiliate links. As an Amazon Affiliate, if you purchase through those links, I earn a commission. Thank you!
I make it for weeknight desserts, backyard cookouts, or summer gatherings, or when I just want something cold and sweet after a long day. I usually make a couple of pints at once since it keeps frozen for up to 2 weeks, so I can pull one out whenever the craving hits. But honestly, it rarely lasts that long!
Ingredients You’ll Need
You’ll need all the ingredients shown in the photograph below.

How to Make Ninja Creami Chocolate Ice Cream with Step-By-Step Instructions
Scroll down for the full recipe card containing a full printable recipe and measurements in both US customary and metric units.
Here’s exactly how I make this rich homemade chocolate ice cream recipe using Ninja Creami, step by step, so yours comes out perfectly creamy, too.
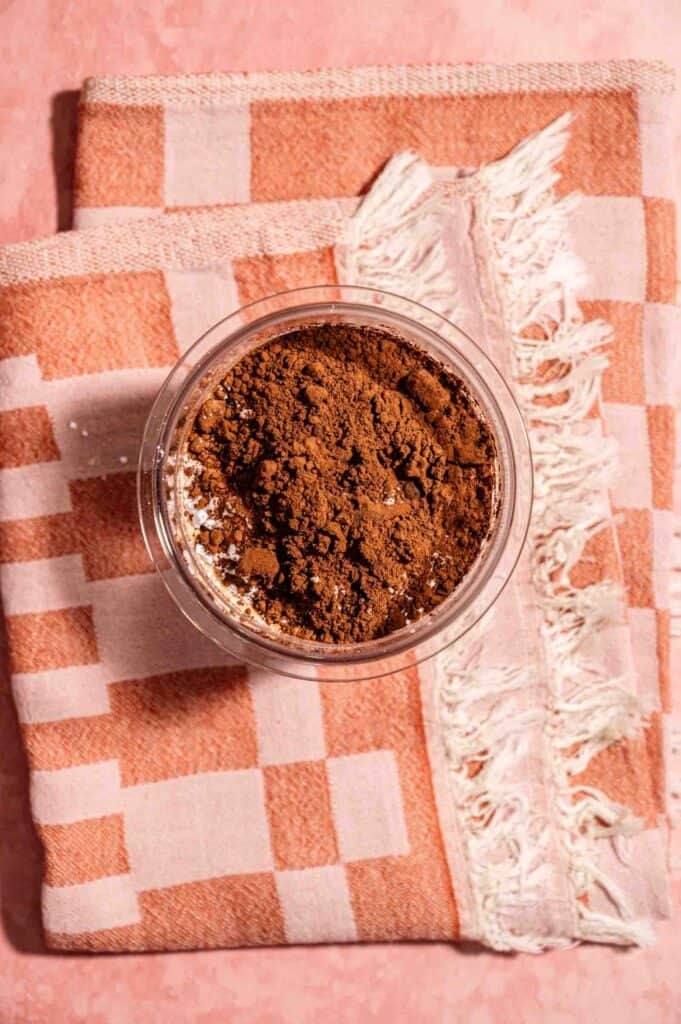
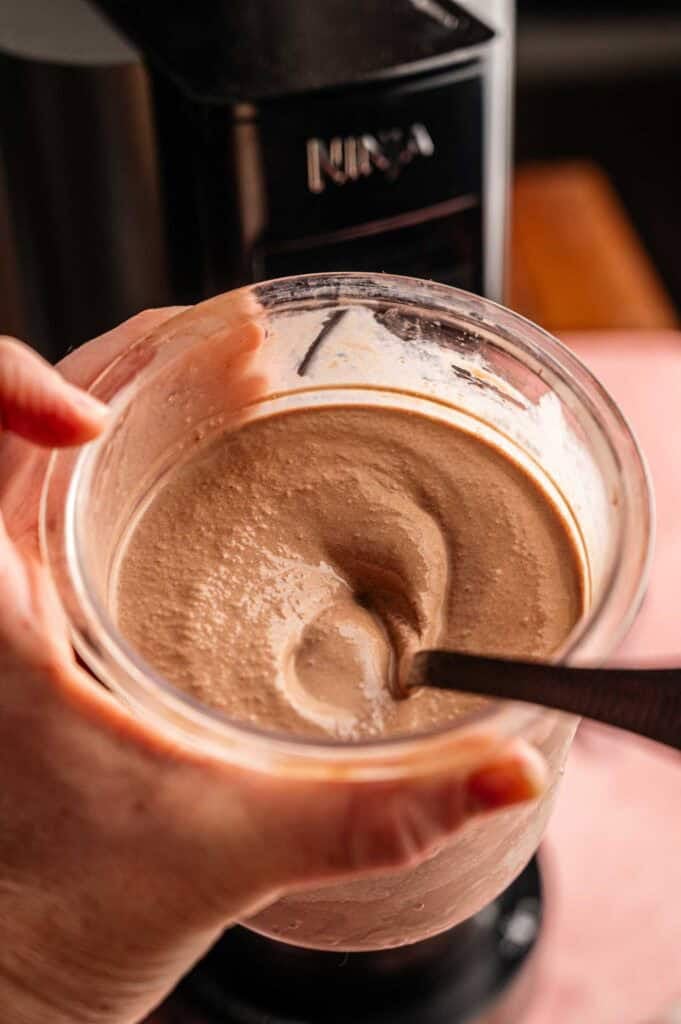
Blend the Base
Add the heavy cream, milk, powdered sugar, cocoa powder, and vanilla extract to your Ninja Creami pint container. You can use whole milk here for a richer base or chocolate milk for a deeper chocolate flavor.
Sweetened condensed milk in place of powdered sugar also adds extra richness. You can also make this creamy ice cream dairy-free by swapping your regular milk for unsweetened oat milk and replacing the heavy cream with unsweetened coconut cream.
For extra creaminess, try stirring in a tablespoon of instant chocolate pudding mix or a scoop of chocolate protein powder to boost protein. You may also add a tiny pinch of xanthan gum (about 1/8 teaspoon) to prevent iciness once put in the freezer.
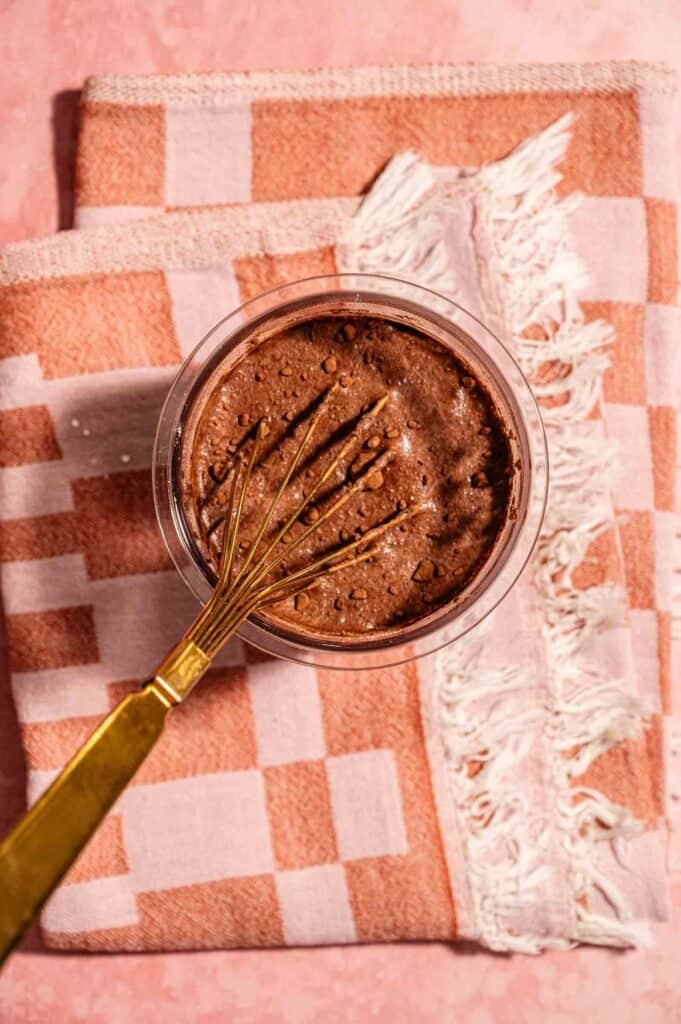
Blend everything together using a handheld milk frother, immersion blender, or a balloon whisk until the mixture is completely smooth with no lumps. Getting it fully combined at this stage is what sets you up for that silky, ultra-creamy texture once it spins.
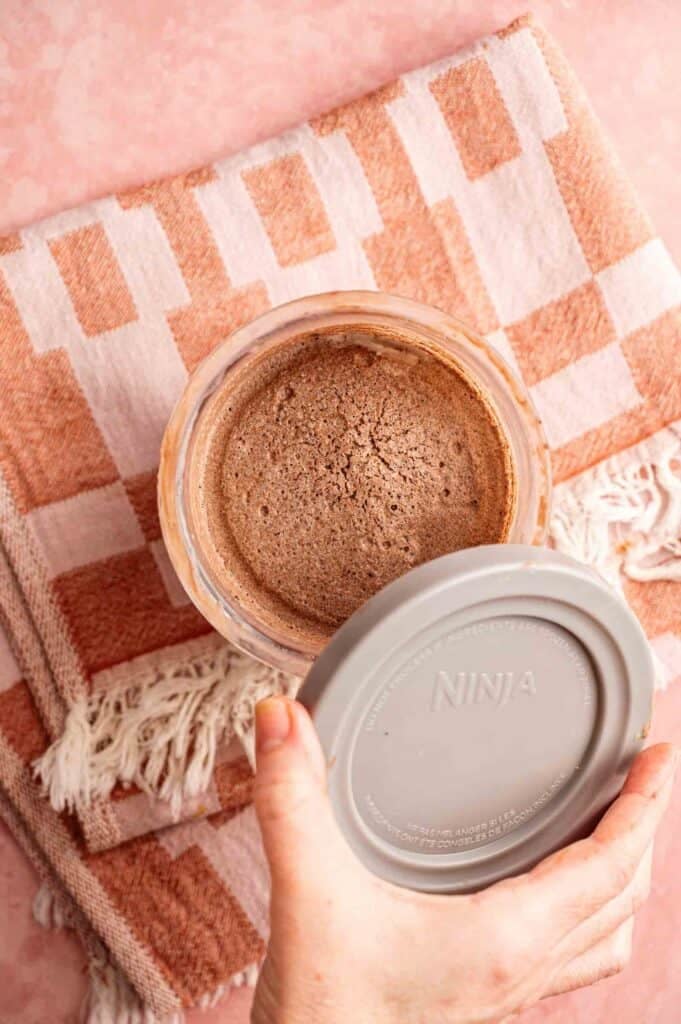
Freeze Completely
Secure the lid on the container and place it in the freezer. Let it freeze for at least 24 hours, or until the base is completely solid all the way through. Don’t rush this step since a fully frozen pint is what allows the Ninja Creami machine to work its magic properly.
SERIOUSLY GOOD
DESSERTS!
Dessert First is a collection of 61 RECIPES to show you that you can make beautiful, impressive desserts right in your own kitchen, no matter your skill level.
Immediate eBook download. No physical book available.
Includes ad-free recipes like:
∙ Lemon Pound Cake
∙ Starbucks Cake Pops
∙ Boston Cream Pie
∙ Chocolate Mousse
∙ Matcha Tiramisu
...and much more!

Temper and Spin
When you’re ready, and the ice cream mixture’s perfectly frozen, pull the container from the freezer and let it sit on the counter for about 10 minutes. This brief rest helps the machine process it more smoothly.
Remove lid from the pint and place the container with the frozen base in your Ninja Creami outer bowl. For proper outer bowl lid assembly, make sure to securely attach the paddle to the bottom before locking the lid in.
For the outer bowl assembly, slide the now covered outer bowl with the filled Creami pint in it onto the motor base of your Ninja Creami ice cream maker, with the handle positioned right in the middle.
From the middle, push or twist the handle to the right to lock the bowl in place. Once everything’s properly in place, run the Ice Cream function.
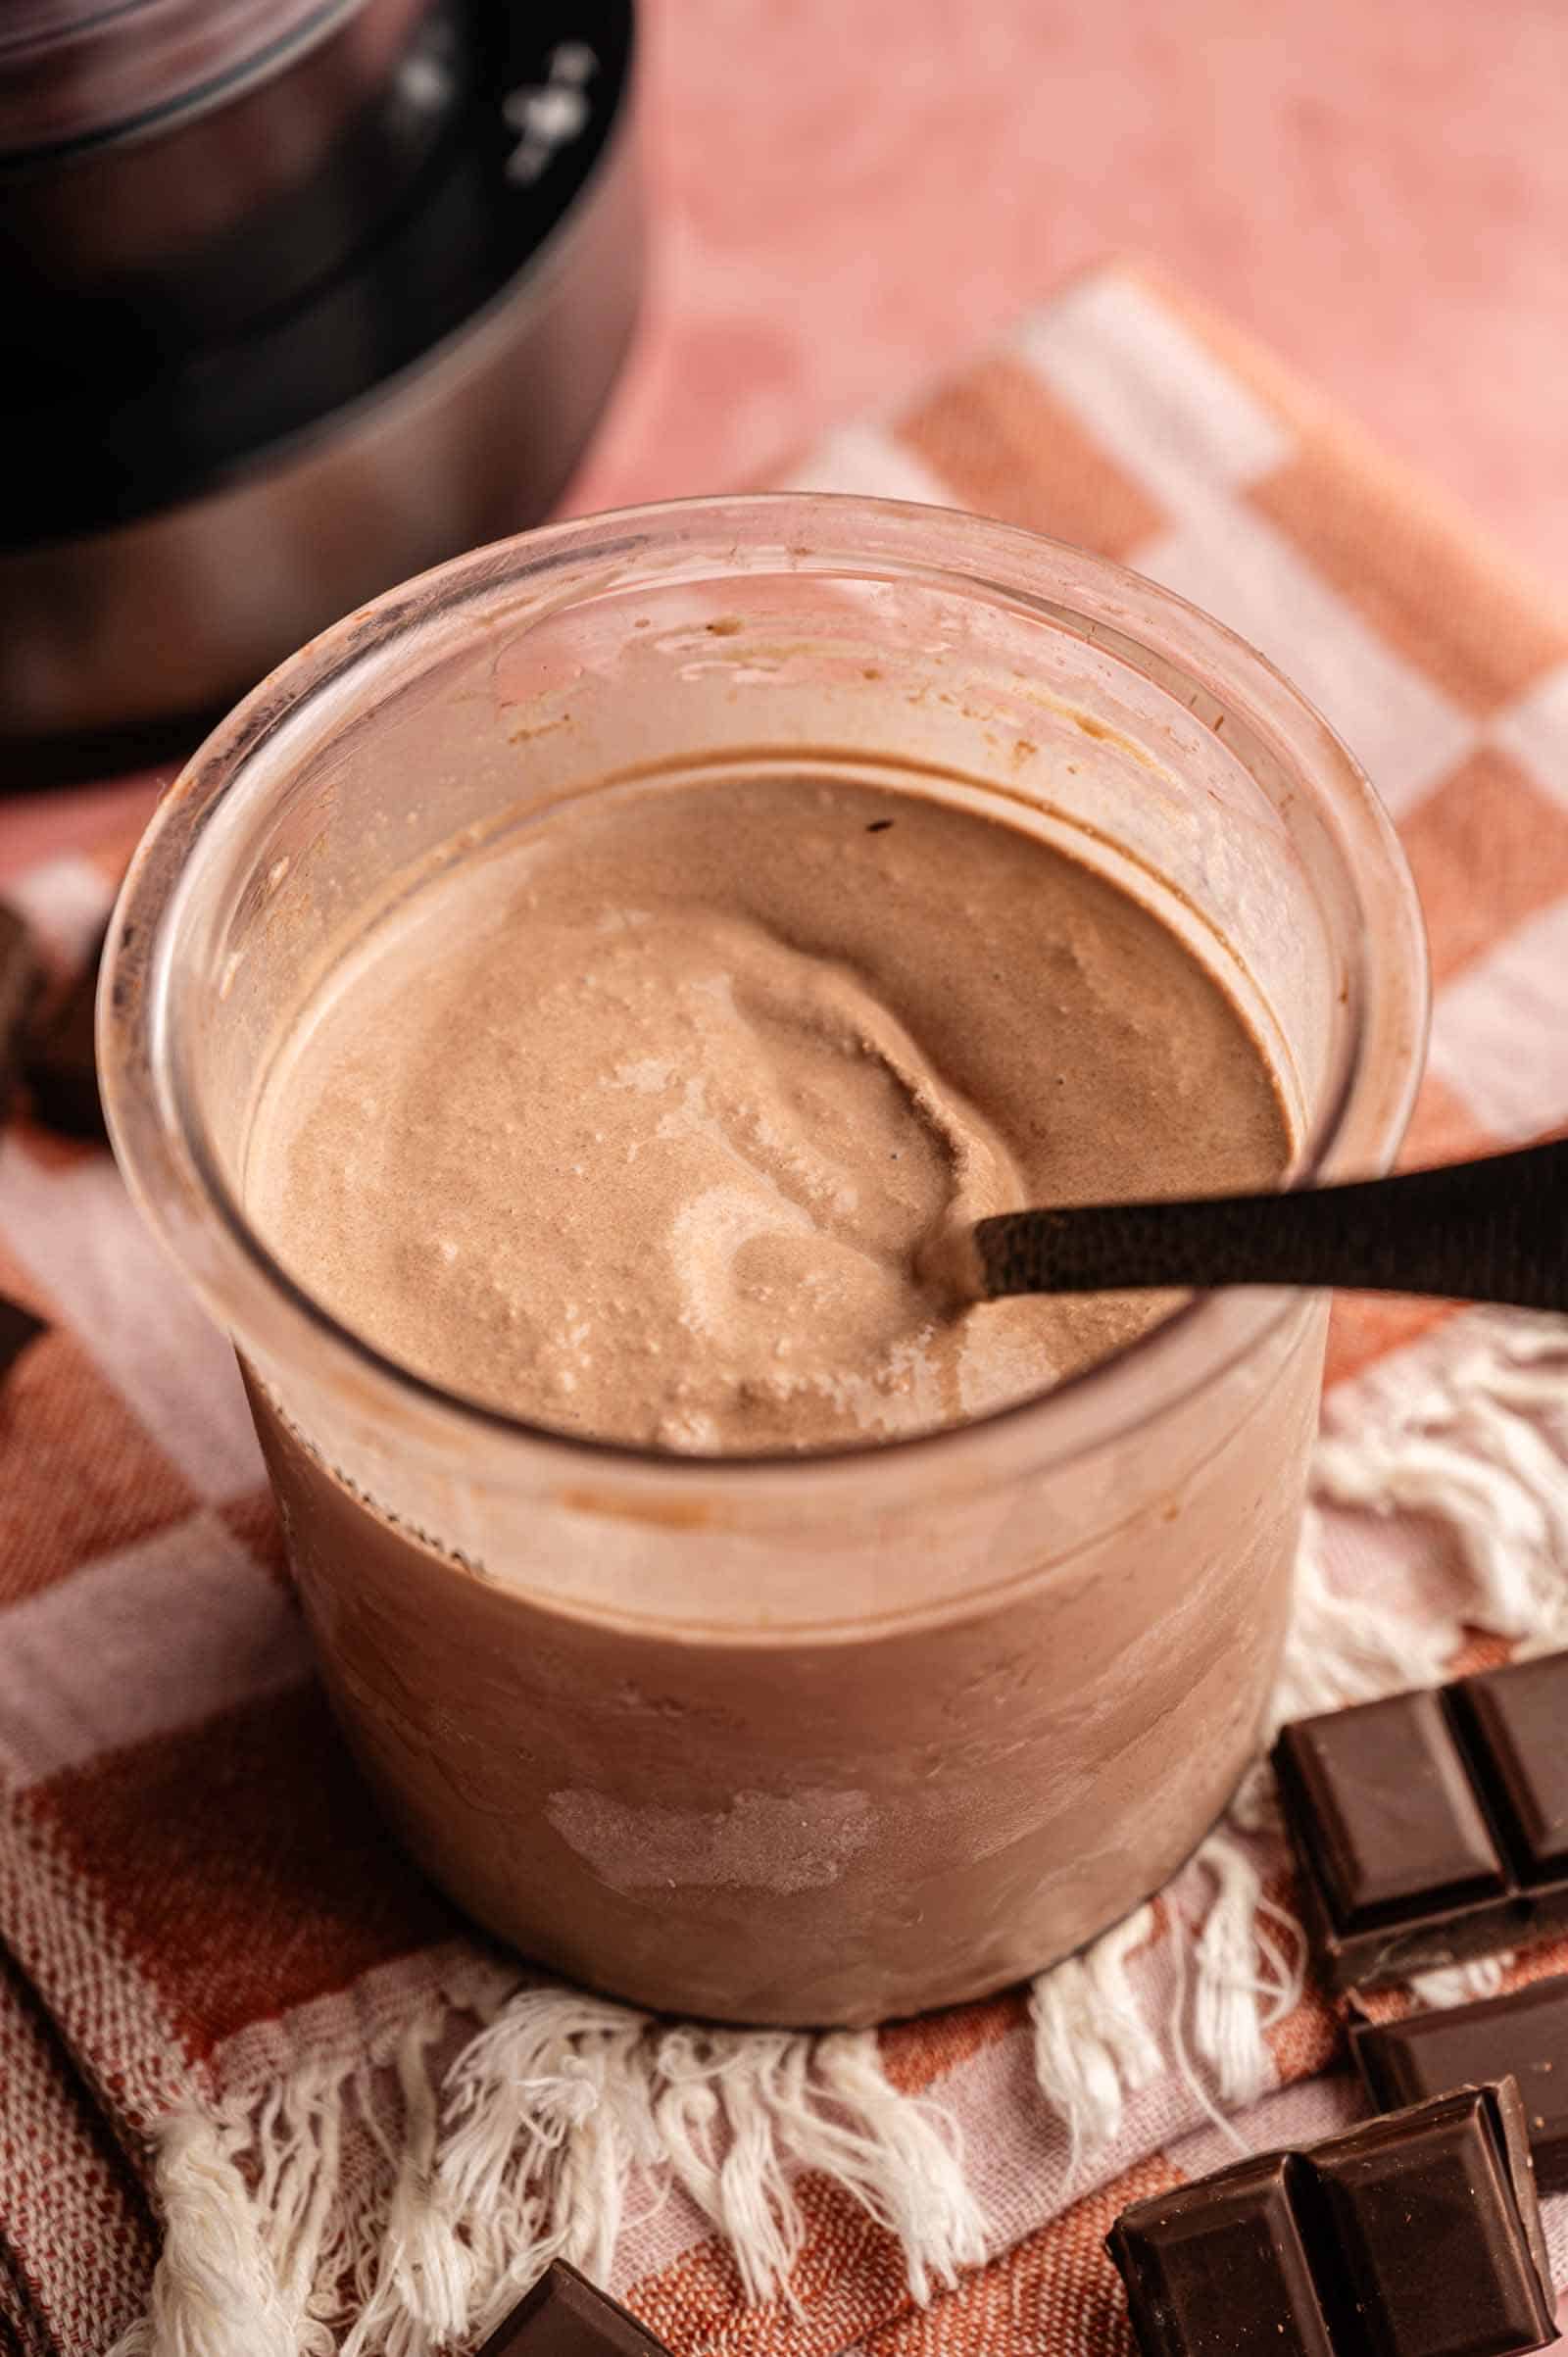
Re-spin if Needed
If the texture looks crumbly or powdery after the first spin, don’t worry. You can add a small splash of milk directly into the pint, then run the Respin setting once. That little bit of extra liquid makes the texture go from crumbly to incredibly creamy.
If you ever want to add mix-ins, this is the time, so go ahead. After the first spin, create a well at the center of your Creami pint using a rubber spatula. Then, throw in some dark chocolate chips, a drizzle of chocolate syrup, fresh berries, or whatever you like!
Once your mix-ins are in, place the outer bowl lid back on and run the Mix-In setting on your standard Ninja Creami or Ninja Creami Deluxe.
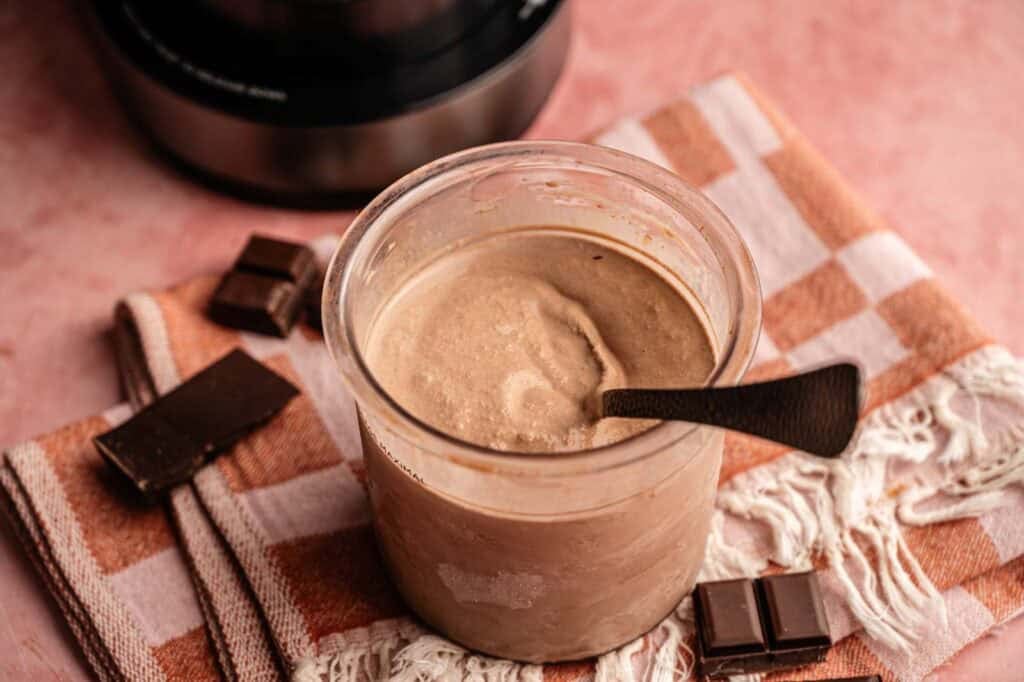
Serve and Enjoy
Scoop the ice cream right away with an ice cream scoop and serve immediately. It’s honestly at its absolute best right out of the machine. Enjoy it on its own, in a cone, in an ice cream dessert bowl, or loaded with toppings!
Ingredients
- ⅔ cup heavy cream
- 1 cup milk
- ⅓ cup powdered sugar
- 2 tablespoons cocoa powder
- 1 teaspoon vanilla extract
Instructions
- Add all ingredients to the Ninja Creami container. Blend well using a milk frother or whisk until smooth and fully combined. Make sure there are no lumps for the creamiest texture.⅔ cup heavy cream, 1 cup milk, ⅓ cup powdered sugar, 2 tablespoons cocoa powder, 1 teaspoon vanilla extract
- Secure the lid and freeze for at least 24 hours, or until completely solid.
- Remove from the freezer and let it sit for about 10 minutes. Place it in the Ninja Creami and run the Ice Cream setting.
- If the texture looks crumbly, respin once. You can add a small splash of milk before respinning to make it extra creamy.
- Scoop and enjoy right away.
Notes
Nutrition
SERIOUSLY GOOD
DESSERTS!
Dessert First is a collection of 61 RECIPES to show you that you can make beautiful, impressive desserts right in your own kitchen, no matter your skill level.
Immediate eBook download. No physical book available.
Includes ad-free recipes like:
∙ Lemon Pound Cake
∙ Starbucks Cake Pops
∙ Boston Cream Pie
∙ Chocolate Mousse
∙ Matcha Tiramisu
...and much more!
How to Store Leftovers
If you have any left after serving, smooth the top of the ice cream flat in the pint container, press a piece of plastic wrap directly against the surface to prevent ice crystals from forming, and secure the lid before returning it to the freezer.
This homemade ice cream keeps well for up to two weeks. When you’re ready for another serving, let the pint sit out for about 10 minutes before respinning on the Ice Cream or Respin setting to bring the texture right back to life.
For longer storage or if you’re making multiple batches ahead of time, a set of insulated ice cream tubs is worth having on hand. Keeping extra bases frozen and labeled means you’re always just one spin away from fresh ice cream.
What to Serve With Ninja Creami Chocolate Ice Cream
It pairs beautifully with warm desserts. I personally love serving it alongside a warm brownie, a slice of chocolate cake, or a few freshly baked chocolate chip cookies.
The contrast between the cold, creamy scoop and something warm and fudgy fresh out of the oven is hard to beat. Set up a little topping bar and let everyone customize their own bowl for a fun, low-effort dessert spread.
It’s also great on its own with simple toppings like hot fudge, whipped cream, crushed graham crackers, rainbow sprinkles, or a handful of mini chocolate chips.
More Easy Recipes for You to Try at Home
Here are more easy Ninja Creami ice cream recipes I think you’ll love.
- Ninja Creami S’mores Ice Cream
- Ninja Creami Vanilla Bean Ice Cream
- Ninja Creami Strawberry Cheesecake Ice Cream
- Ninja Creami High-Protein Vanilla Ice Cream
- Ninja Creami Mint Chocolate Chip Ice Cream
About the Author

Hey there! I’m Mandy
Mandy Applegate is a home cook, food blogger, and writer who believes the best meals are the ones shared with the people you love.
She’s all about easy recipes that taste amazing, the kind that make ordinary days feel a little more special and remind you why cooking at home matters.
She has been published on NBC, the Daily News, the Boston Herald, and the Chicago Sun-Times, amongst many others.