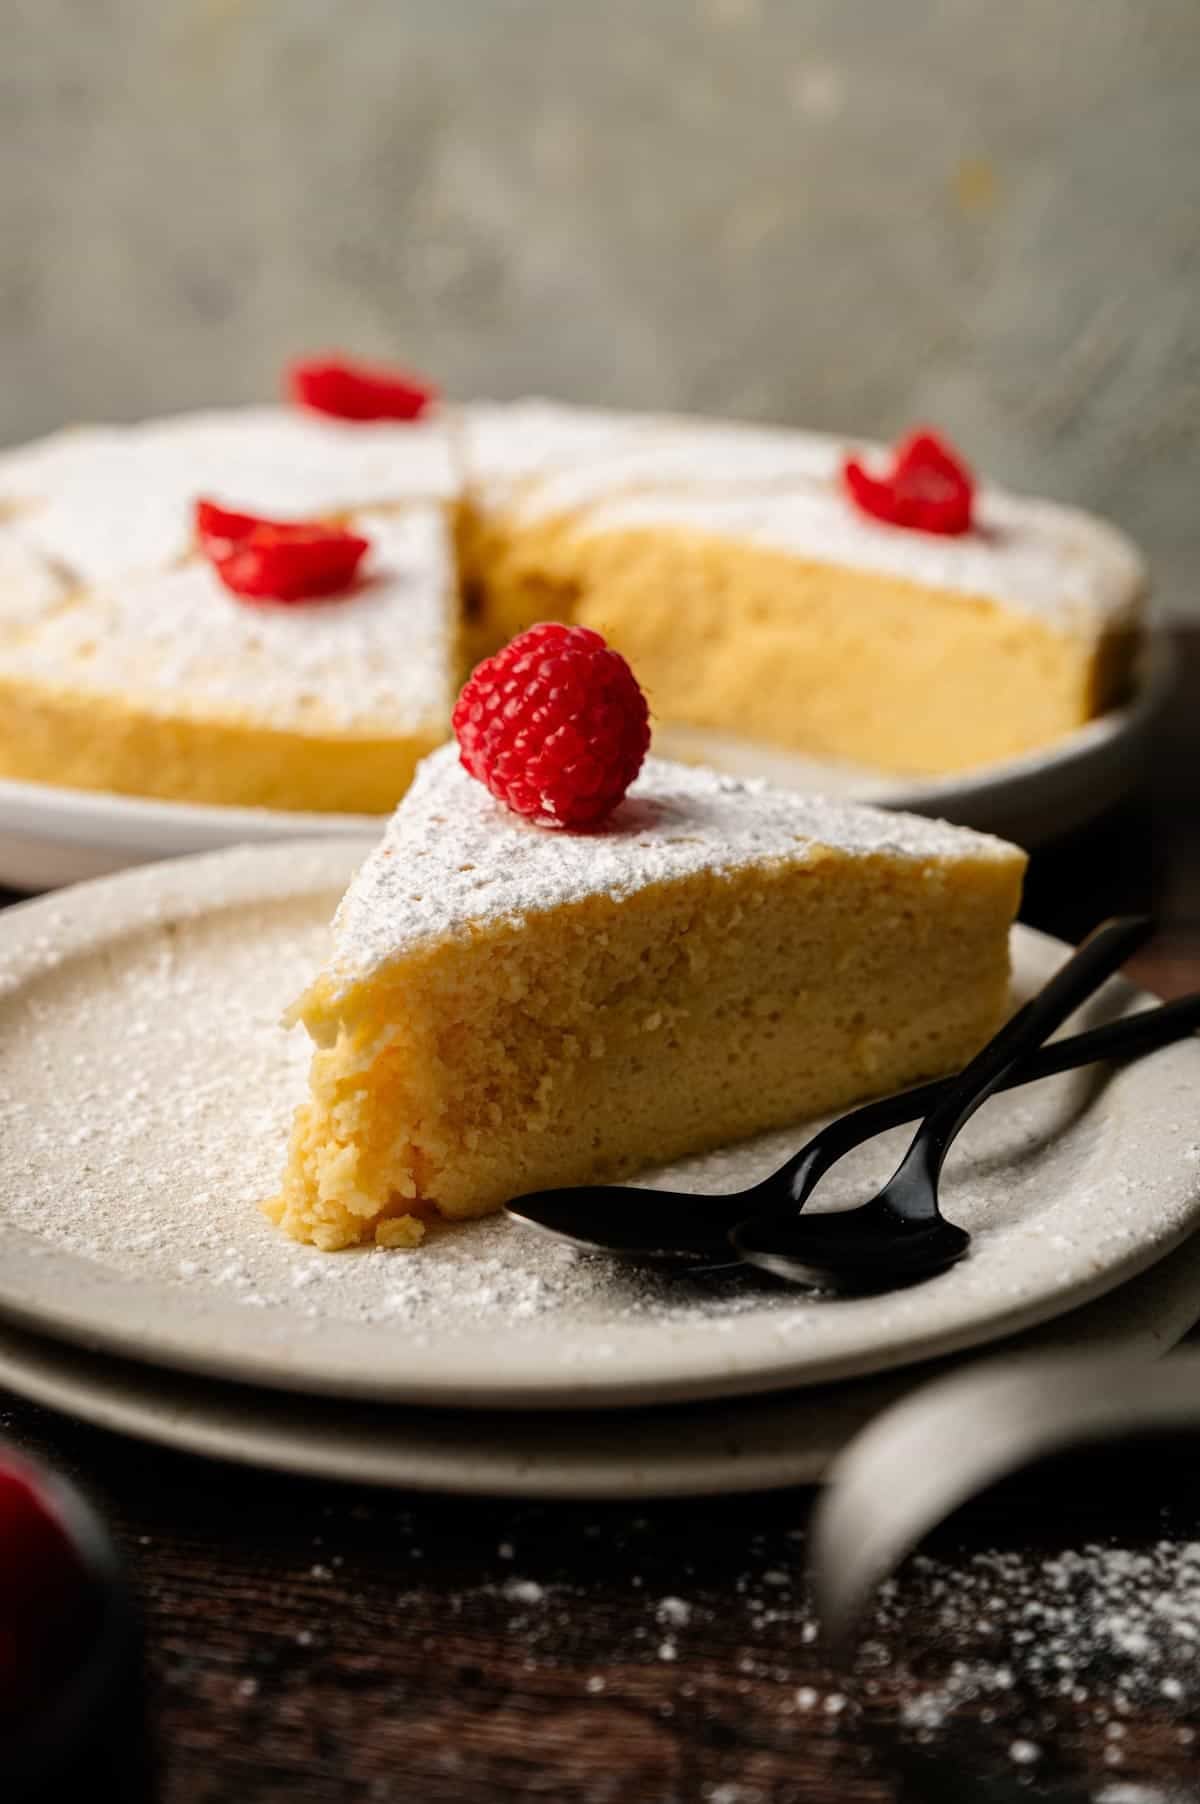
Japanese Cheesecake

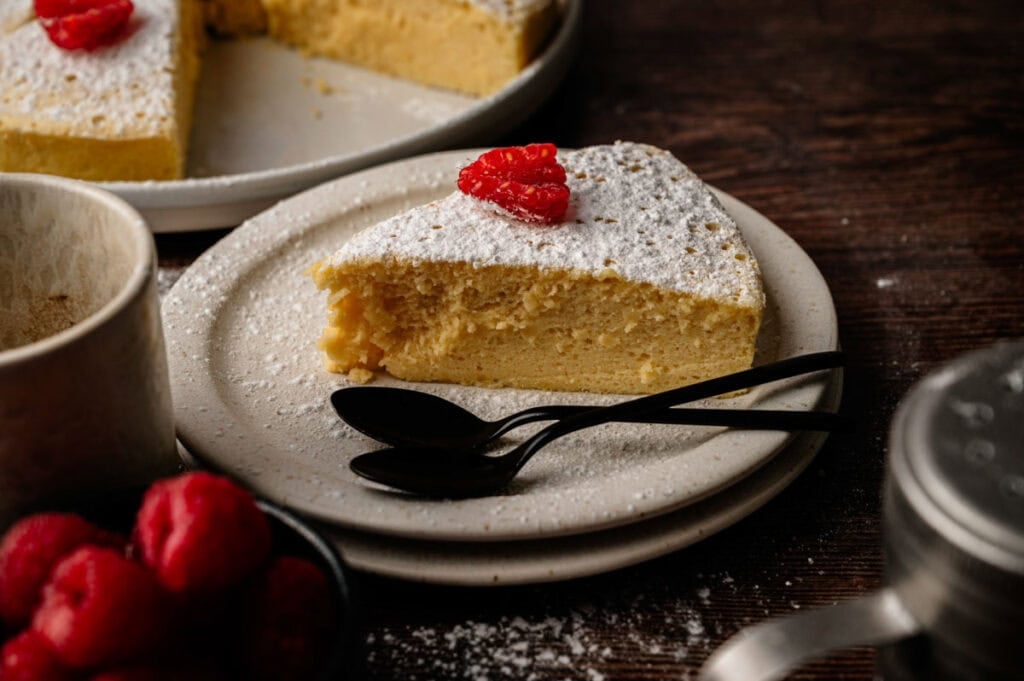
My guests always gasp when I bring out Japanese Cheesecake because it jiggles like nothing they’ve seen before. That wobble means the inside is going to be cloud-soft and airy, with delicate cream cheese flavor that tastes subtly sweet. The texture practically dissolves on your tongue. You’ll be making jiggle videos before you even slice it.
This post contains affiliate links. As an Amazon Affiliate, if you purchase through those links, I earn a commission. Thank you!
I make it for birthday celebrations, dinner parties, and brunch gatherings because everyone gets excited when you bring it to the table. It’s perfect for tea parties and special occasions like Christmas and Valentine’s Day when you want something elegant and light. It’ll keep in the fridge for up to 3 days, or you can freeze slices for up to 1 month.
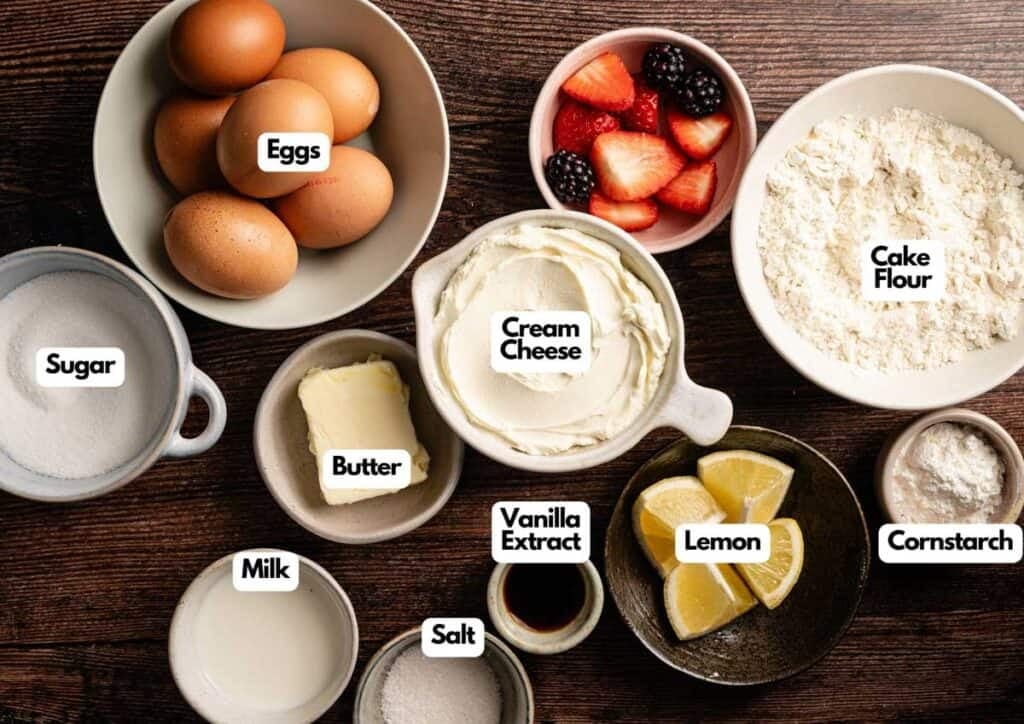
Ingredients You’ll Need
You’ll need all the ingredients shown in the photograph below.
How to Make Japanese Cheesecake with Step-By-Step Instructions
Scroll down for the full recipe card containing a full printable recipe and measurements in both US customary and metric units.
Making delicate pastries like Japanese Cheesecake takes patience, but the jiggly, cloud-like result is worth every careful step.
Prepare the Pan
Grease and line an 8 or 9-inch springform cake pan with round parchment paper so the delicate cheesecake releases cleanly after baking. The springform sides make it easy to remove without damaging the airy texture.
Make the Cream Cheese Base
In a microwave-safe bowl, microwave the cream cheese, butter, and milk for about 1½ minutes until melted. You can use unsalted butter for better control over the salt level, and whole milk to help everything melt together more easily.
Whisk the cream cheese mixture until completely smooth, so there aren’t any lumps that would create dense spots in your finished cheesecake. A hand mixer makes this process effortless and gives you perfectly smooth results.
Add the Wet Ingredients
Whisk in the egg yolks, lemon juice, vanilla, and half of the sugar. Sift in the cake flour, cornstarch, and salt. If you don’t have cake flour, you can substitute all-purpose flour, though cake flour gives a slightly lighter result.
Whisk gently until smooth, then set aside. The lemon juice adds subtle brightness that balances the richness of the cream cheese.
SERIOUSLY GOOD
DESSERTS!
Dessert First is a collection of 61 RECIPES to show you that you can make beautiful, impressive desserts right in your own kitchen, no matter your skill level.
Immediate eBook download. No physical book available.
Includes ad-free recipes like:
∙ Lemon Pound Cake
∙ Starbucks Cake Pops
∙ Boston Cream Pie
∙ Chocolate Mousse
∙ Matcha Tiramisu
...and much more!

Whip the Egg Whites
In another bowl, beat the egg whites on medium speed until foamy. Gradually add the remaining sugar and continue beating until glossy stiff peaks form.
To prevent overbeating, start on low mixer speed until foamy, then increase to medium as you gradually add the sugar, watching for the progression from soft peaks to stiff peaks.
Now, fold one-third of the cream cheese batter into the meringue. The stiff peaks are what create that signature bouncy, jiggly texture, so don’t skip this step or rush through it.
Fold the Batter
Add another one-third of the dry mixture and gently fold. Repeat with the remaining batter, folding carefully to avoid deflating it.
Use a silicone spatula for gentle folding that preserves all those air bubbles you worked so hard to create.
Create the Water Bath
Pour the batter into the prepared springform pan, then place it inside a larger baking pan. Pour boiling water into the baking pan until it reaches halfway up the sides of the springform pan.
The bain-marie (or in simpler terms, water bath) keeps this Japanese cotton cheesecake moist and prevents cracking while it bakes.
Bake in Two Stages
Bake at 400°F (200°C) for 18 minutes, then reduce the oven temperature to 320°F (160°C) and bake for 12 minutes.
Use an oven thermometer to make sure your temperature is accurate, since even small variations can affect the delicate texture.

Rest in the Oven
Turn off the oven, crack the oven door open, and let the cheesecake rest inside for 30 minutes. The gradual cooling prevents the airy structure from collapsing too quickly.
Cool Completely
Remove from the oven and cool completely at room temperature before serving. The cheesecake will settle slightly as it cools, but that signature jiggle will remain.
Serve and Enjoy
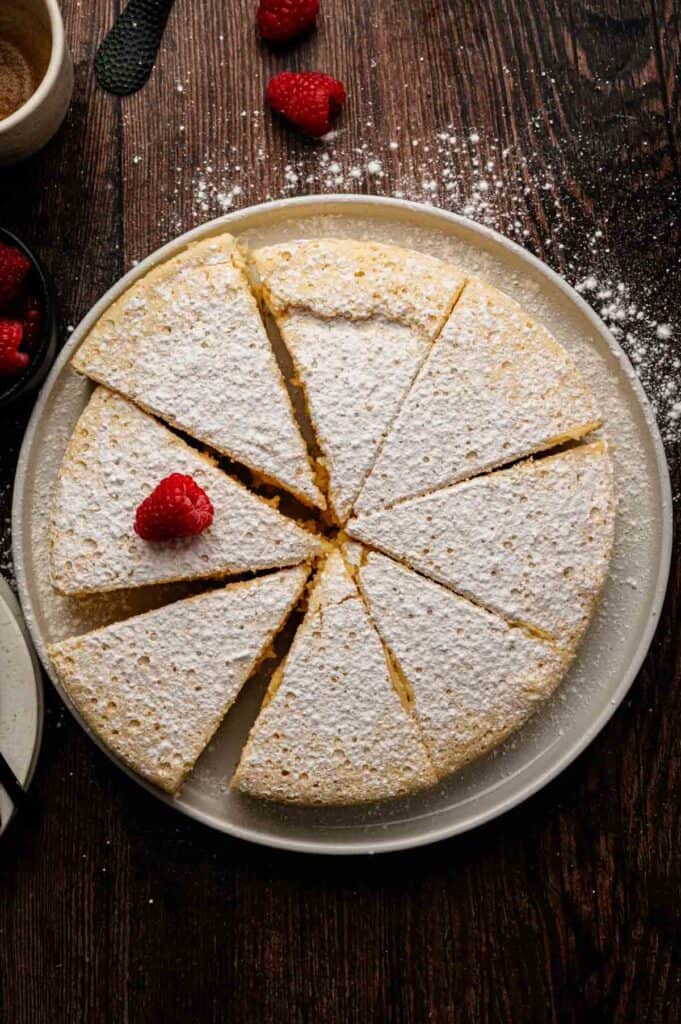
Finally, add your desired toppings and enjoy! Powdered sugar, fresh berries, or a light dusting of matcha powder all complement the delicate flavor beautifully of this soft Japanese cheesecake. Enjoy!
You can also flash-freeze it uncovered for 1 hour before slicing, so your knife cuts through cleanly without compressing the airy texture.
Japanese Cheesecake travels well to potlucks, dinner parties, and special gatherings as long as you keep it chilled and handle it gently.
Leave the cheesecake in the pan with the ring attached for extra support during transport, put it in a cake carrier with a high dome to protect its delicate surface, then place it on a flat surface in your car to prevent shifting.
Ingredients
- 1 cup cream cheese softened
- 4 tablespoons butter softened
- 7 tablespoons milk
- 6 large eggs separated
- 1 ½ tablespoons lemon juice
- 2 teaspoons vanilla extract
- ¾ cup sugar divided
- ¾ cup cake flour
- 2 ½ tablespoons cornstarch
- ½ teaspoon salt
Instructions
- Grease and line an 8-inch springform pan.
- Microwave the cream cheese, butter, and milk for about 1½ minutes until melted. Whisk until completely smooth.1 cup cream cheese, 4 tablespoons butter, 7 tablespoons milk
- Whisk in the egg yolks, lemon juice, vanilla, and half of the sugar. Sift in the cake flour, cornstarch, and salt. Whisk gently until smooth, then set aside.6 large eggs, 1 ½ tablespoons lemon juice, 2 teaspoons vanilla extract, ¾ cup sugar, ¾ cup cake flour, 2 ½ tablespoons cornstarch, ½ teaspoon salt
- In a clean bowl, beat the egg whites on medium speed until foamy. Gradually add the remaining sugar and continue beating until glossy stiff peaks form. Fold one-third of the cream cheese batter into the egg whites.
- Add another one-third of the dry mixture and gently fold. Repeat with the remaining batter, folding carefully to avoid deflating it.
- Pour the batter into the prepared springform pan. Place the pan inside a larger baking tray. Pour boiling water into the tray until it reaches halfway up the sides of the springform pan.
- Bake at 400°F (200°C) for 18 minutes, then reduce the temperature to 320°F (160°C) and bake for 12 minutes.
- Turn off the oven, crack the door open, and let the cheesecake rest inside for 30 minutes.
- Remove from the oven and cool completely at room temperature before serving.
- Add your desired toppings and enjoy!
Notes
Nutrition
SERIOUSLY GOOD
DESSERTS!
Dessert First is a collection of 61 RECIPES to show you that you can make beautiful, impressive desserts right in your own kitchen, no matter your skill level.
Immediate eBook download. No physical book available.
Includes ad-free recipes like:
∙ Lemon Pound Cake
∙ Starbucks Cake Pops
∙ Boston Cream Pie
∙ Chocolate Mousse
∙ Matcha Tiramisu
...and much more!
How to Store Leftovers
Keep leftover Japanese Cheesecake in the springform pan covered with plastic wrap or transfer slices to an airtight container in the refrigerator for up to 3 days.
The texture stays light and fluffy when properly covered, though it’s best enjoyed within the first 2 days for optimal jiggle.
For longer storage, wrap individual slices tightly in plastic wrap, then place them in a freezer-safe container for up to 1 month.
Thaw slices in the fridge overnight before serving so the delicate texture returns gradually without becoming watery.
What to Serve With Japanese Cheesecake
Serve it with fresh berries, sliced peaches, or a light dusting of matcha powder that won’t overpower the delicate sweetness. A drizzle of honey or powdered sugar keeps things simple and elegant.
Hot green tea or black coffee balances the richness perfectly and creates an authentic Japanese teatime experience. You can also add whipped cream, berry compote, or raspberry coulis. The airy texture works beautifully with chocolate shavings or a thin layer of lemon curd if you want something more fancy without weighing down that cloud-like consistency.
More Easy Recipes for You to Try at Home
Here are more crowd-pleasing desserts I reach for when I want to impress guests.
About the Author

Hey there! I’m Mandy
Mandy Applegate is a home cook, food blogger, and writer who believes the best meals are the ones shared with the people you love.
She’s all about easy recipes that taste amazing, the kind that make ordinary days feel a little more special and remind you why cooking at home matters.
She has been published on NBC, the Daily News, the Boston Herald, and the Chicago Sun-Times, amongst many others.