Key Lime Pie Popsicles
Key Lime Pie Popsicles are tangy, lightly sweet, creamy, and refreshing frozen treats with a bit of graham cracker crunch in every bite. Whether you call them lime yogurt pops or key lime frozen bars, they’re the kind of no-bake dessert that hits the spot, especially on a warm day. Just a bowl, some molds, and a freezer, and you’re halfway there.

This post contains affiliate links. As an Amazon Affiliate, if you purchase through those links, I earn a commission. Thank you!
I love to make these popsicles during the summer when it feels like everyone’s craving something cold and easy. They’re perfect for laid-back afternoons or family BBQs, and I can make them ahead so they’re ready to go straight from the freezer. Since they store well, I always keep a batch on hand for those hot days when a frozen treat hits just right.
Ingredients You’ll Need
You’ll need all the ingredients shown in the photograph below.

How to Make Key Lime Pie Popsicles with Step-By-Step Instructions
Scroll down for the full recipe card containing a full printable recipe and measurements in both US customary and metric units.
You’ll find making these popsicles super easy if you follow my simple instructions below.
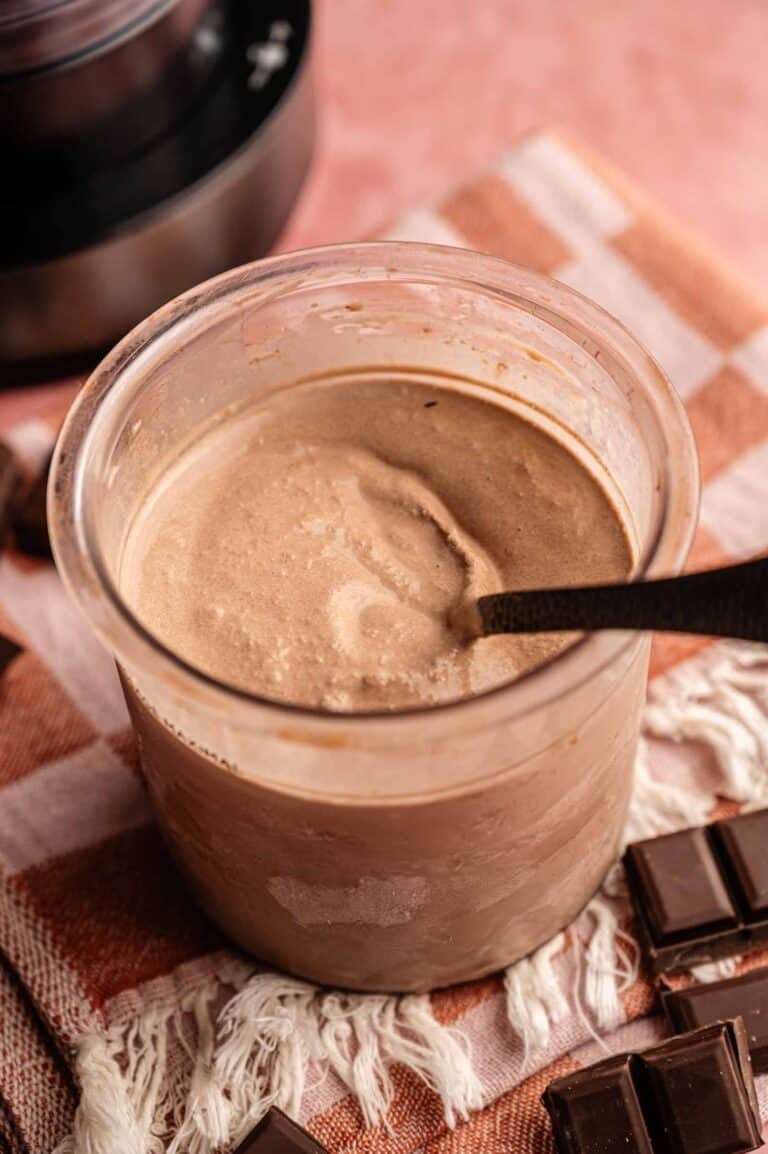
Mix the Yogurt Base
Grab a medium mixing bowl and whisk together the yogurt, coconut milk, lime zest (I use this microplane zester for this), honey, and lime juice. Stir until the mixture is completely smooth and everything is evenly combined.
I like using my glass mixing bowl set with lids here because it keeps the lime zest from escaping while whisking, and I can pop the lid on if I get pulled away mid-prep (which happens often).


SERIOUSLY GOOD
DESSERTS!
Dessert First is a collection of 61 RECIPES to show you that you can make beautiful, impressive desserts right in your own kitchen, no matter your skill level.
Immediate eBook download. No physical book available.
Includes ad-free recipes like:
∙ Lemon Pound Cake
∙ Starbucks Cake Pops
∙ Boston Cream Pie
∙ Chocolate Mousse
∙ Matcha Tiramisu
...and much more!

Fill and Layer the Molds
Pour the yogurt mixture into each popsicle mold, filling them halfway. A small silicone funnel helps keep things tidy here—it’s just less chaos when you’re pouring something creamy into narrow molds.
Add a sprinkle of graham cracker crumbs to each, then pour in the rest of the yogurt mixture until nearly full.
Leaving a little space at the top gives the popsicles room to expand as they freeze—and avoids overflow—and makes them easier to pop out later. Finish off the layer with another light sprinkle of graham cracker crumbs on top.


Insert the Sticks and Freeze
Place a popsicle stick into each mold, making sure it’s centered and standing upright. I use a silicone popsicle mold like this one that comes with reusable sticks and has a flexible base, which makes unmolding way easier than the hard plastic ones.
Carefully transfer the molds to your freezer and freeze for 4 to 5 hours or until completely set.

Remove and Enjoy
To release the popsicles, run the molds under warm water for about 10 seconds. Gently pull them out and enjoy straight away—or serve them with an extra crumble of graham crackers if you want a little more crunch.

Recipe Notes and Expert Tips
I’ve made these popsicles a few different ways, and here are the tips I always come back to for getting the best results:
- Use Full-Fat Yogurt: This gives the popsicles a creamier texture and helps prevent ice crystals from forming.
- Zest Before You Juice: It’s much easier to zest a whole lime than one that’s been juiced—do this step first.
- Taste and Adjust: If your limes are too tart or sour, feel free to add a bit more honey before freezing.
- Pour Carefully: A small spoon or funnel makes it easier to fill the molds without spills.
- Layer the Crumbs: Adding the graham cracker crumbs in the middle and on top gives that real pie-like bite.
- Don’t Fill to the Top: Leave a little space in each mold so the mixture has room to expand as it freezes and to avoid overflow.
- Freeze on a Flat Surface: To keep your popsicles nice and even, make sure the molds sit flat in the freezer.
- Use Warm Water to Release: When you’re ready to eat, warm water on the outside of the mold will help them slide out cleanly.

How to Store Leftovers
After freezing them, you can keep the popsicles in the molds or remove them and wrap them individually in parchment or plastic wrap. Store them in a sealed freezer-safe container or zip-top bag for up to 1 month.
They’re best enjoyed frozen, straight from the freezer. Avoid refreezing once they’ve softened or thawed, as it can make them a bit icy, grainy, and less creamy. So, just take out what you’re ready to eat and leave the rest frozen.
What to Serve With Key Lime Pie Popsicles
You can enjoy these popsicles as is, or you can play around with how you want to serve them. You can pair them with fresh berries, a scoop of coconut whipped cream, or a cold drink like lemonade or iced green tea.

More Easy Recipes for You to Try at Home
If you’re into cool, refreshing desserts or easy no-bake treats, I’ve got a few more favorites you’ll definitely want to try next.

Ingredients
- 1 ½ cups plain yogurt
- ½ cup coconut milk
- 2 limes zest
- 6 tablespoons honey
- 3 tablespoons lime juice
- ½ cup graham cracker crumbs
- Popsicle molds
- Popsicle sticks
Instructions
- In a medium bowl, whisk together the yogurt, coconut milk, lime zest, honey, and lime juice until smooth and well combined.1 ½ cups plain yogurt, ½ cup coconut milk, 2 limes zest, 6 tablespoons honey, 3 tablespoons lime juice
- Pour the yogurt mixture into the popsicle molds, filling them halfway. Sprinkle a layer of graham cracker crumbs over the mixture. Continue filling the molds with the remaining yogurt mixture. Top each with another sprinkle of graham cracker crumbs.½ cup graham cracker crumbs, Popsicle molds
- Place a popsicle stick into each mold, ensuring it stands upright.Popsicle sticks
- Transfer the molds to the freezer and freeze for 4-5 hours, or until completely set.
- Run the molds under warm water for a few seconds to help release the popsicles. Serve and enjoy your refreshing key lime pie popsicles!
Notes
- Use Full-Fat Yogurt: This gives the popsicles a creamier texture and helps prevent ice crystals from forming.
- Zest Before You Juice: It’s much easier to zest a whole lime than one that’s been juiced—do this step first.
- Taste and Adjust: If your limes are too tart or sour, feel free to add a bit more honey before freezing.
- Pour Carefully: A small spoon or funnel makes it easier to fill the molds without spills.
- Layer the Crumbs: Adding the graham cracker crumbs in the middle and on top gives that real pie-like bite.
- Don’t Fill to the Top: Leave a little space in each mold so the mixture has room to expand as it freezes and to avoid overflow.
- Freeze on a Flat Surface: To keep your popsicles nice and even, make sure the molds sit flat in the freezer.
- Use Warm Water to Release: When you’re ready to eat, warm water on the outside of the mold will help them slide out cleanly.
Nutrition
SERIOUSLY GOOD
DESSERTS!
Dessert First is a collection of 61 RECIPES to show you that you can make beautiful, impressive desserts right in your own kitchen, no matter your skill level.
Immediate eBook download. No physical book available.
Includes ad-free recipes like:
∙ Lemon Pound Cake
∙ Starbucks Cake Pops
∙ Boston Cream Pie
∙ Chocolate Mousse
∙ Matcha Tiramisu
...and much more!
About the Author

Hey there! I’m Mandy
Mandy Applegate is a home cook, food blogger, and writer who believes the best meals are the ones shared with the people you love.
She’s all about easy recipes that taste amazing, the kind that make ordinary days feel a little more special and remind you why cooking at home matters.
She has been published on NBC, the Daily News, the Boston Herald, and the Chicago Sun-Times, amongst many others.